STATUS: COMPLETE
.
Finally it has started. After being on my to-do list for about 5-6 years I have officially started the build.
This project will be done is about 3 stages.
Stage 1: The main Framework.
Stage 2: The roofing.
Stage 3: Enclosing with fly-screen, blinds and a rear door.
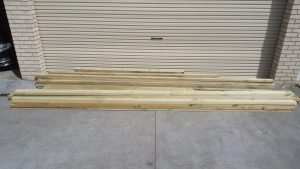
Stage 1 started on October 24th 2017 with the arrival of the wood that was purchased 2.5 weeks prior.
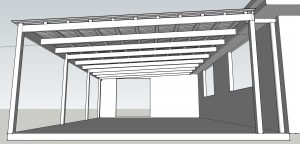
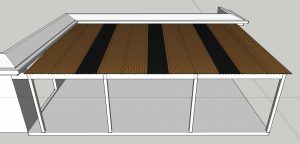
These are the designs, by myself, done in Sketch-up.
Treated wood framework with alternating sheets of Colorbond steel and UV blocking Transparent sheets at 2 to 1 ratio.
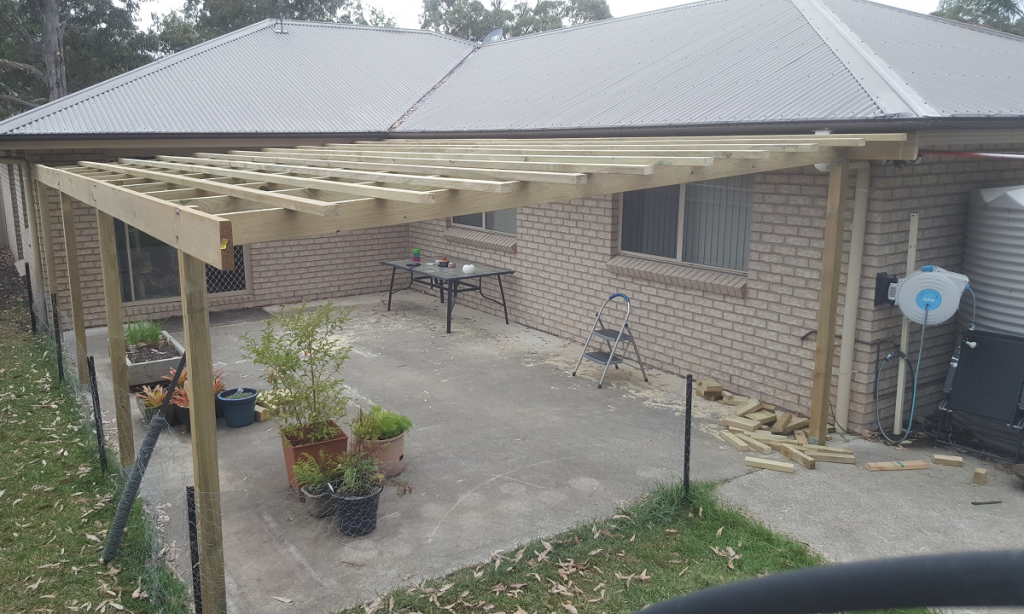
Day # 1:
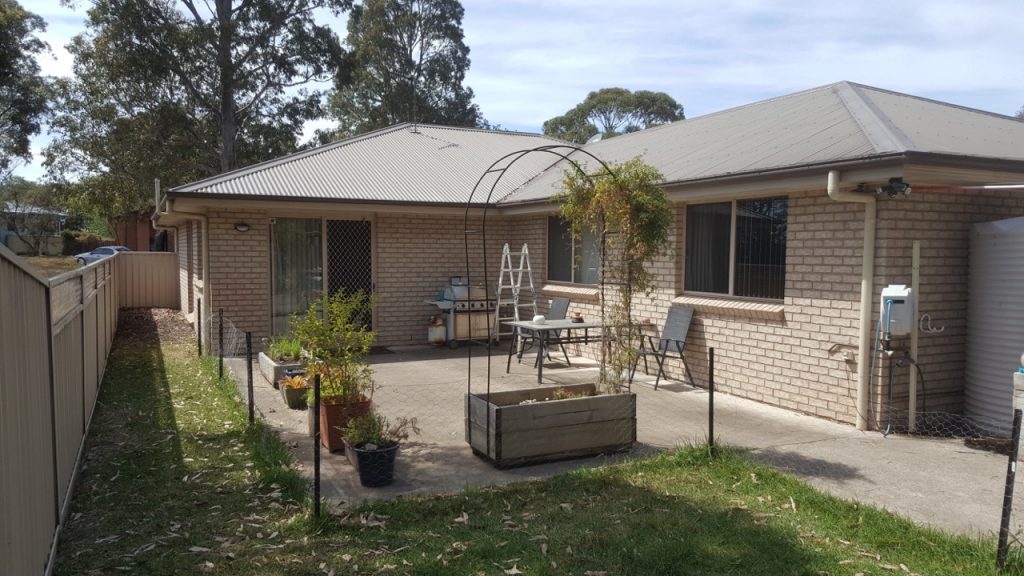
The area at the start of Day 1.
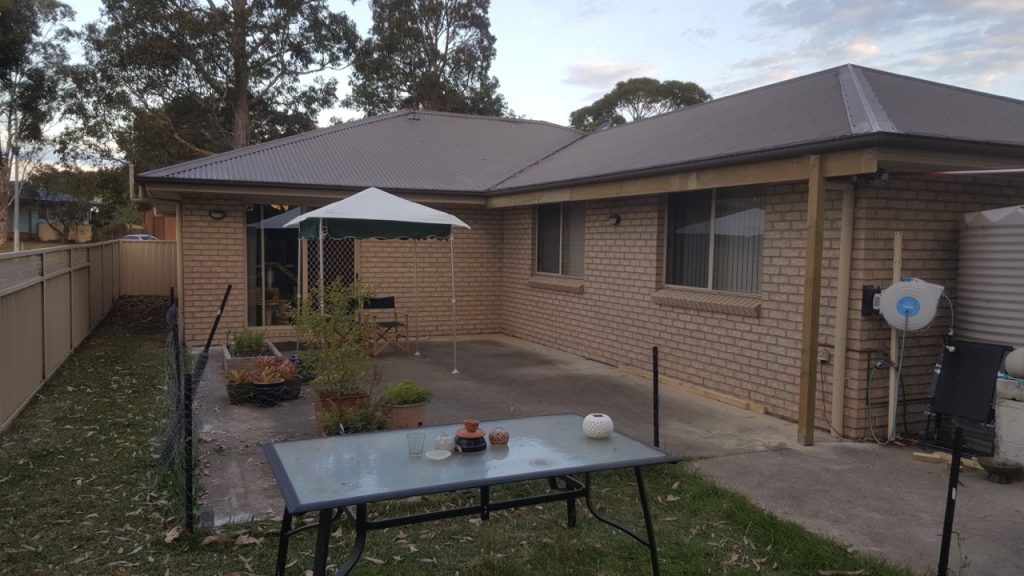
The area at the end of day 1. Most of this day was moving all the wood from the drop off in the front driveway to the rear.
Then waiting for the power to come back on (Planned outage for the electric crews to connect new properties being built around the corner).
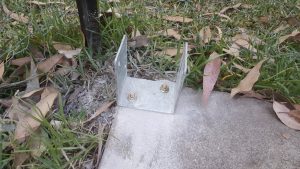
Progress: main ledger bolted to house with first post bolted to the concrete and the ledger. Also drilled and dyna-bolted the other 4 post holders into the concrete. And removed part of the downpipe for modification after the framework is done (need to change from round to rectangle fittings to get past the ledger):
Day # 2:
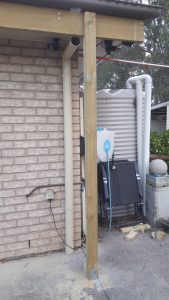
Day 2 had some delays from rain. Achieved was the bolting down of all 4 posts along the outer side, bolting to the top of those the outer ledger and the outer two beams. Some prep work for the rest of the beams.
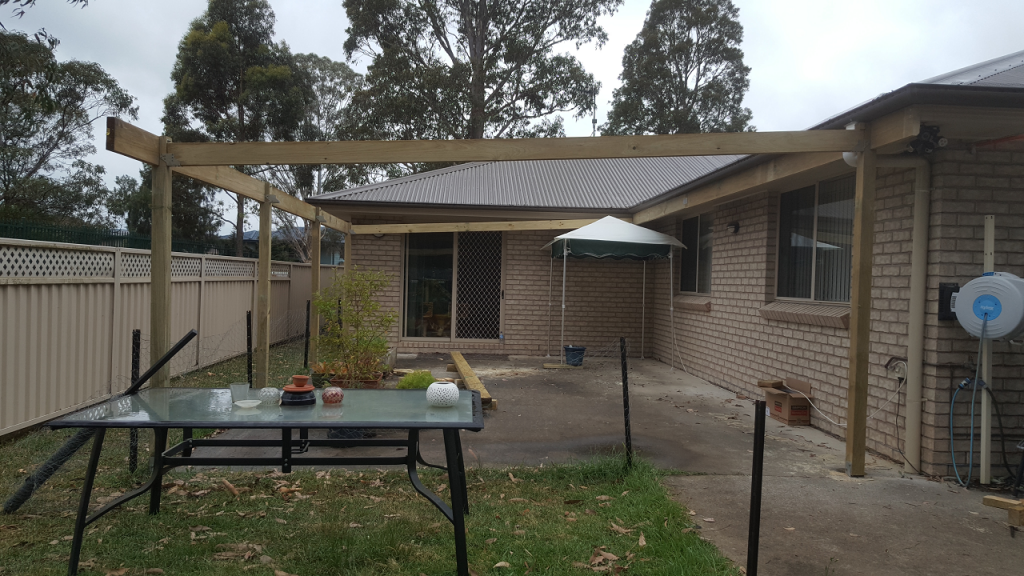
Day # 3:
Day 3 saw all the beams cut and put up in place, some adjustment of their cut to square up the structure. Then 2 rows of 10 crossbeams cut and screwed into place ready for the roofing to go on the following day. Stage 1 Completed.
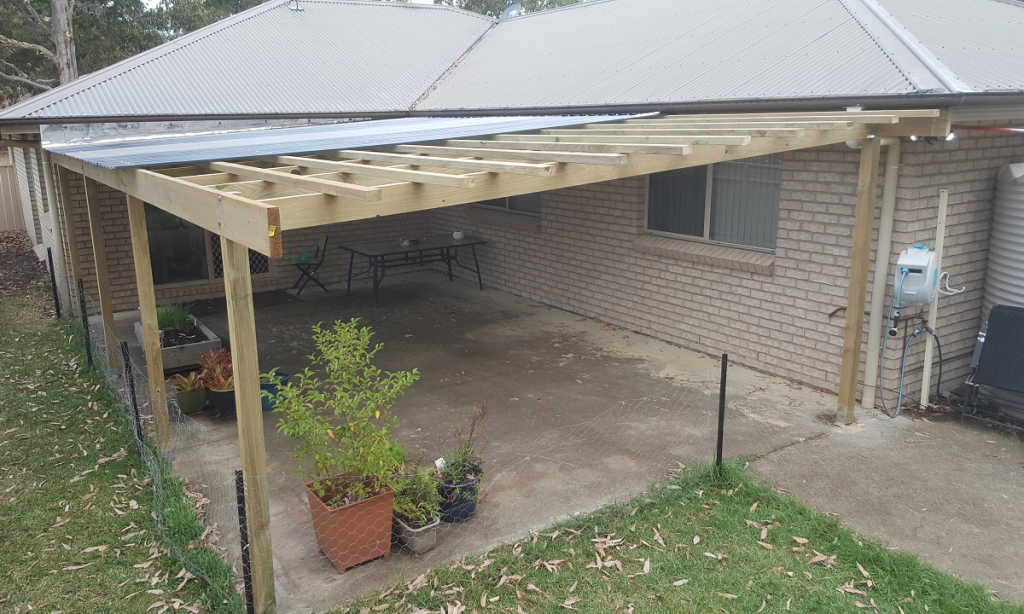
Day # 4:
Day 4 I managed just over half the roofing. Changing the plans slightly I opted for re-positioning of the transparent sheets (these are UV block poly-carbonate). I found that the light was already low nearer the house so I moved the poly closer. This order of sheets became: 1 Iron, 2 Poly, 2 Iron, 2 Poly then 3 Iron. The last 3 Iron sheets had to be done the next day.
After the first sheet went up I put some flashing to seal the slight gap due to the drop in the roof angle. Sheets were tucked snug under the guttering from the house and angled away for the rain to run off.
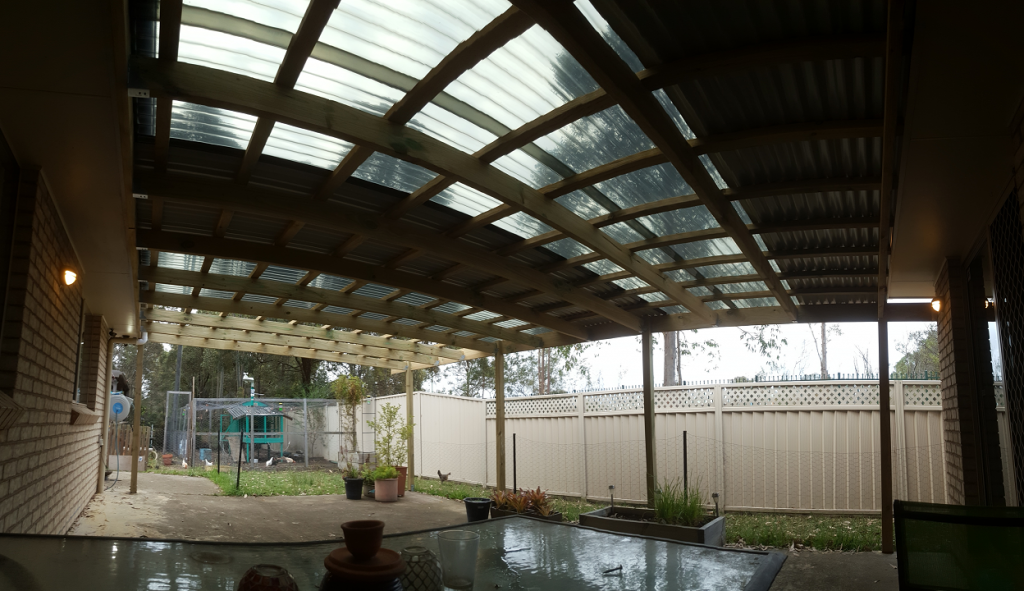
Day # 5:
A mostly short day to finish off the last 3 sheets of Iron and some general tidy up and pressure cleaning of the concrete slab. Stage 2 Completed.
STAGE # 3:
Although stage 3 did not start until mid December we had spent almost every afternoon and a few days enjoying the shelter just this much offered us, warm sunny days and a few stormy and rainy ones too. It was very rewarding to be outside under this achievement both physically and mentally for me.
The enclosing mesh was simply made from shade cloth cut and stapled to wood frames and rolled in the same way one assembles a canvas for painting. these frames then screwed onto the posts and beams to fill the gaps, the smaller gaps on the edges we opted for some clear patterned plastic, which we later discovered fractalises light at night like a kaleidoscope.

For access to the Shed and the chooks I made two large panels on hinges with slide bolts to lock then in place. Final touches saw a small shelf and some new wiring and lights along with a couple of colored LED string lights for ambiance at night.

We also added several hanging crystals, beads, wind chimes and some hanging plants. Also in the far corner I made a new planting box for our poor ferns that were becoming pot-bound.

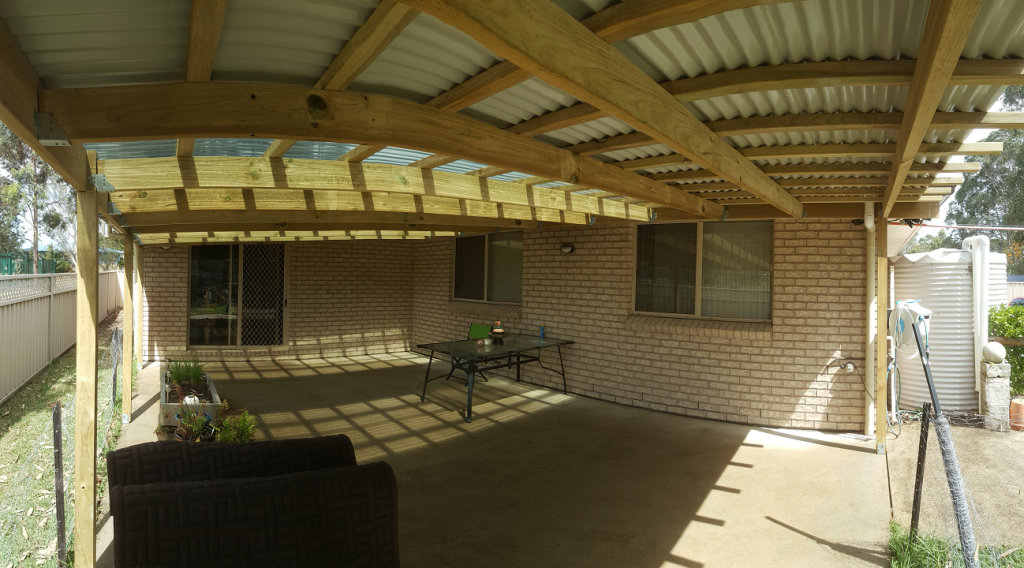
Project: COMPLETED!
Totally satisfied with the outcome of this project.
Leave a Reply